Easy Diy Cupcake Toppers With White Icing
One thing I love about birthdays is making a birthday cake. I almost almost always use a box cake mix for guaranteed yumminess. The part I enjoy most is coming up with the decorations for the top though.
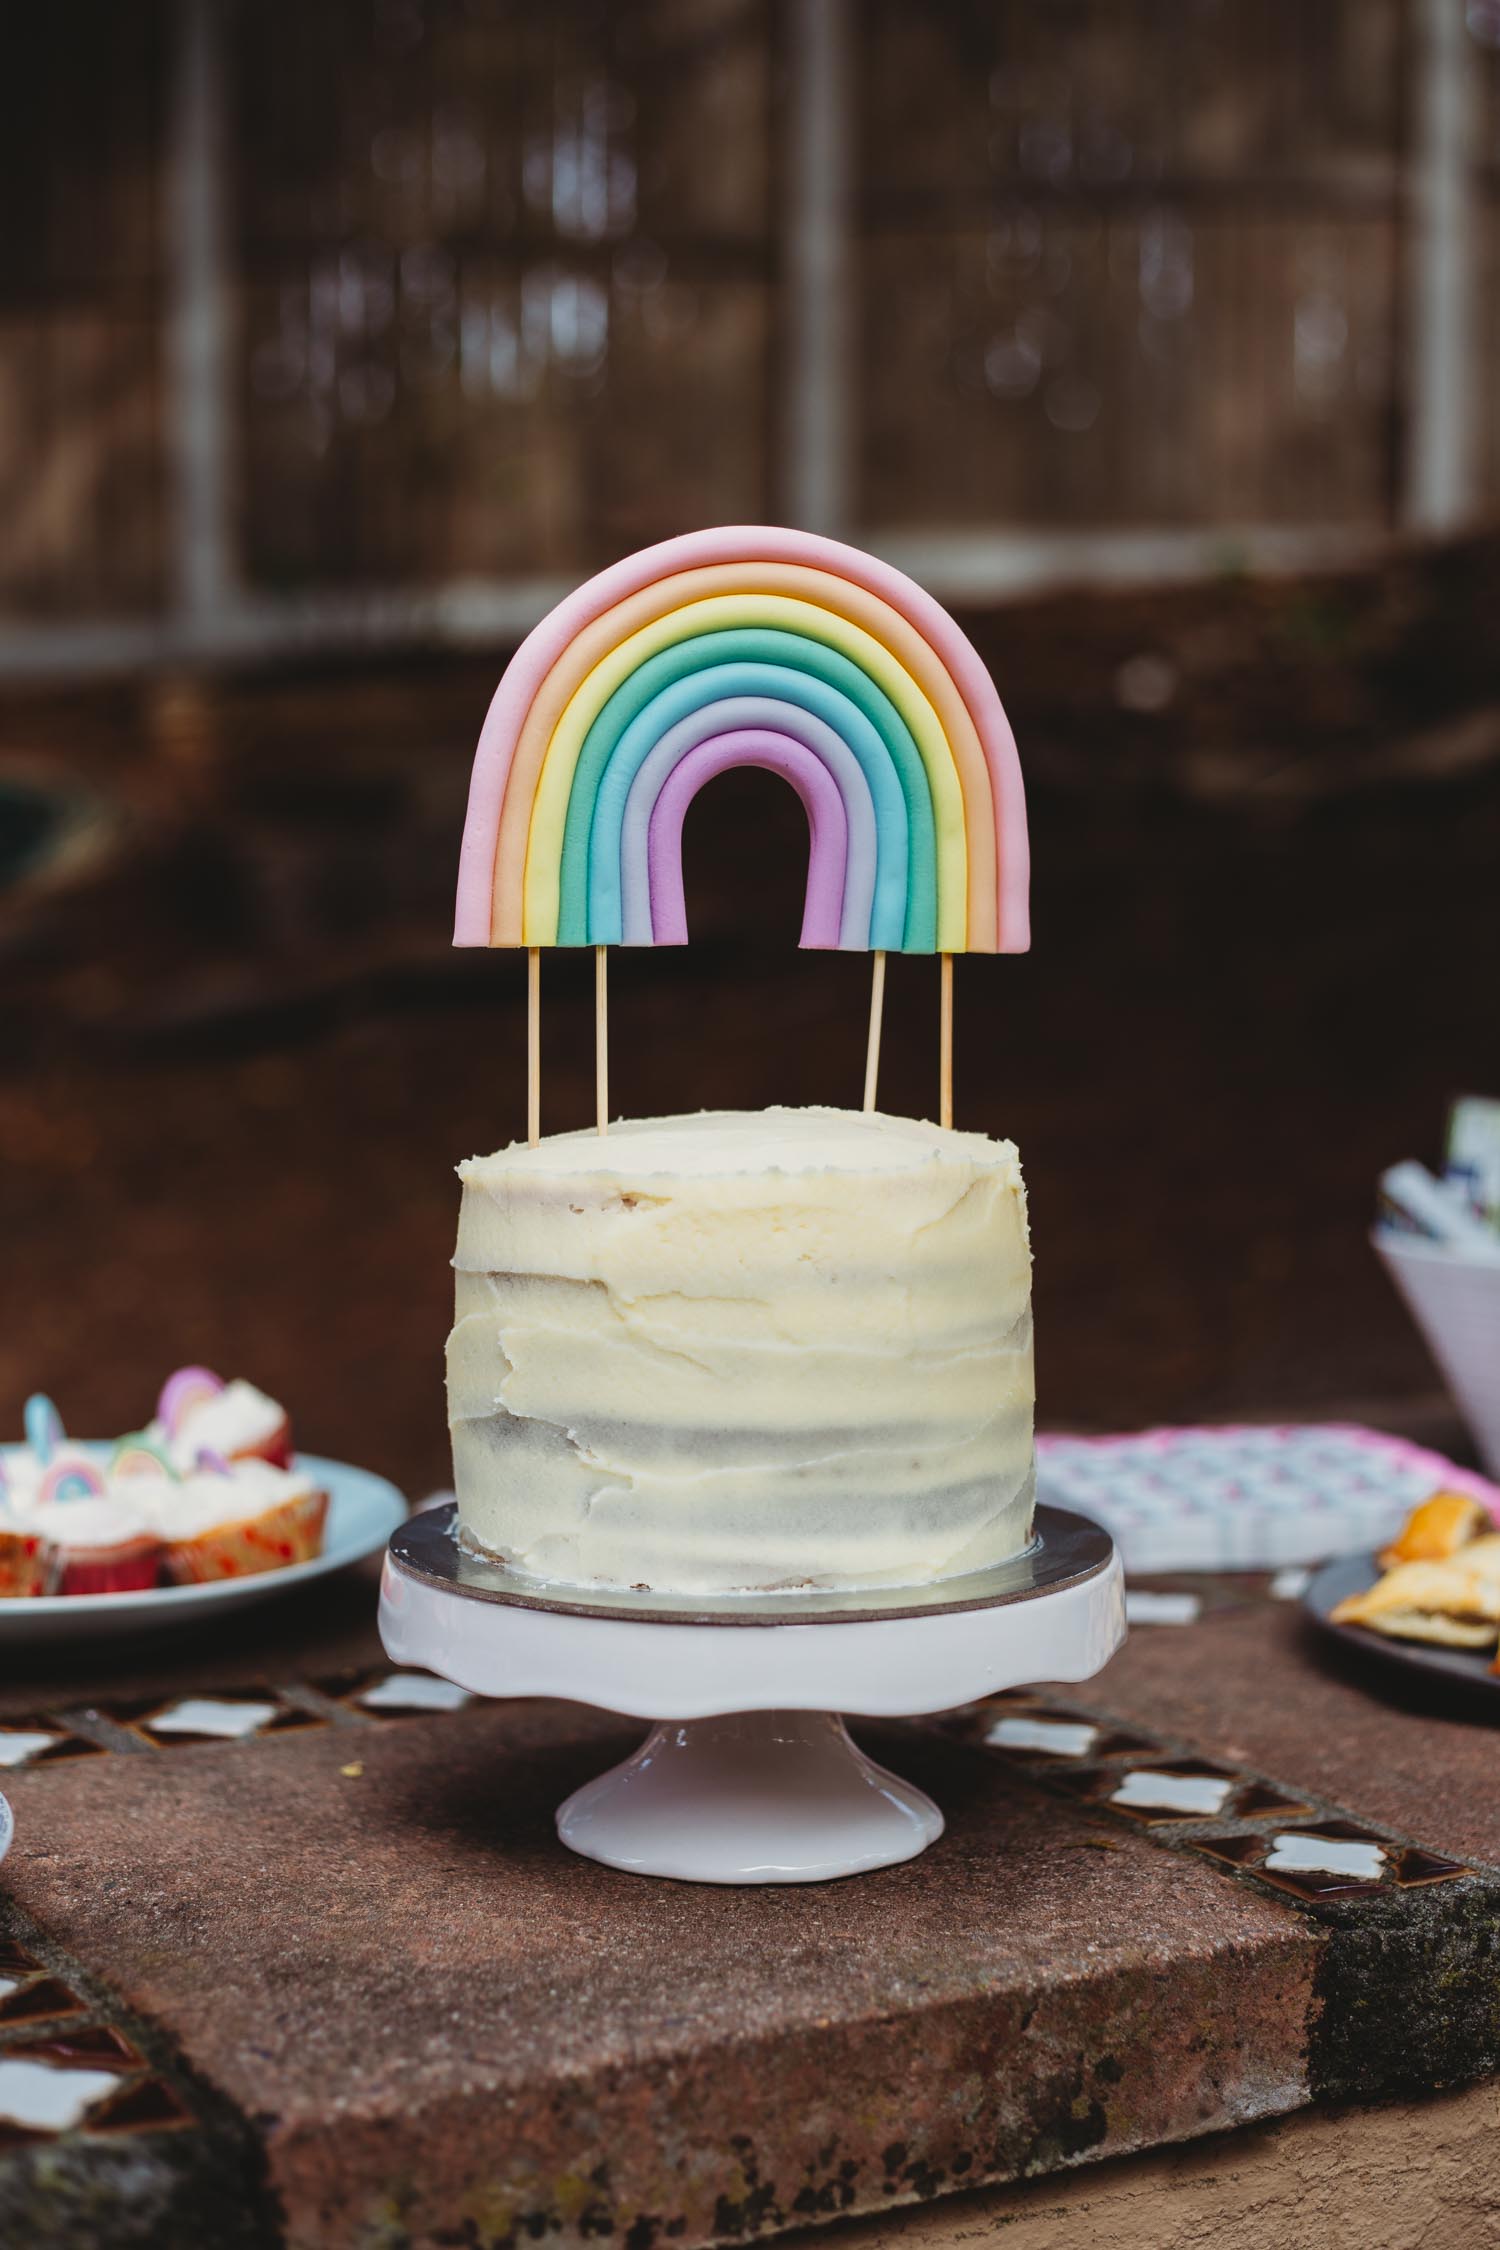
We recently hosted our daughter's fourth birthday party and she chose a rainbow theme. Pastel rainbow to be specific. Pastels are my dream colour palette so I was chuffed about that! You can find the name bracelet kit party favour here.
We looked together at a few ideas on Pinterest (full board here) and combined a couple of them to make our design for a fondant rainbow cake topper. The colours had come out exactly as I imagined them. So, naturally I just kept going and made a whole stack of mini rainbows for the cupcakes to match. I found it totally addictive!
The cake itself was also rainbow inside, with 6 thin layers, one colour each.


Fondant Pastel Rainbow Cake Topper DIY
What you need:
White Fondant/Petti nice
Gel food colouring of your choice (I used pink, orange, yellow, green, blue, lilac)
Kebab sticks
Anything small and round for the centre shape
Small clean paintbrush
What to do:
Start by breaking off small chunks of white fondant icing. Use slightly bigger chunks for the outer rainbow colours.
To ensure that your colours come out pastel, it is important to add only a little food colouring. Put one drop onto a clean plate and then use a toothpick or similar to dip into the food colouring and put it onto the fondant. Knead it in with your hands. Slowly add the food colouring until you are satisfied with the colour. Repeat for all the colours you want. (Of course you can just drop it straight onto the fondant, but you run the risk of adding too much food colouring and the colour being too bright or dark.)

Roll out your first (inner most) colour into an evenly shaped worm. Wrap it around your small round item. Repeat for each colour.

Once all the colours are rolled and placed, glue them together by dipping a paintbrush in water and wetting in between each colour. Make sure the colours stay touching.
Use a long sharp knife to cut through all the colours at once and get a straight edge along the bottom.
Side note: I actually really liked the look of the untrimmed rainbow. It could be quite fun to try dry the rainbow cake topper over something the same shape as the cake and create a "dripping rainbow" effect.

Take your kebab sticks, wet the pointy end and gently poke it up into one of your colours, about 5cm. Make sure it goes in straight so that it doesn't poke out either the front or back. Repeat for the other end of the same colour. Depending on the size of your rainbow, you may want additional supports. I chose to do two on each side.

Leave your cake topper to dry fully, in a dust free space. This could take 24-48 hours, depending on how thick it is. Once the top seems fairly dry you can also gently turn it over to allow the bottom to dry more easily.
Trim down your sticks as needed.
Note: The fondant may soften if it sits in the sun for too long, so make sure to keep it safely in a cool and dry place until you're ready to cut the cake.


Pastel Rainbow Cupcake Toppers
To make the mini cupcake toppers I simply rolled out really thin fondant "worms" and then followed the same steps to paint with water and cut with a knife. I loved the freedom of the mini ones and so I played around with various colour combinations.
The birthday girl got involved too and mixed a few colours. While I was first annoyed that the colours were being mixed, the marble effect actually ended up making some of my favourite little rainbows!
Bonus is that the rainbows are completely edible.


You might also like:
carrollouldives49.blogspot.com
Source: https://www.puresweetjoy.co.za/rainbow-cake-topper-cupcake-diy/
0 Response to "Easy Diy Cupcake Toppers With White Icing"
Post a Comment